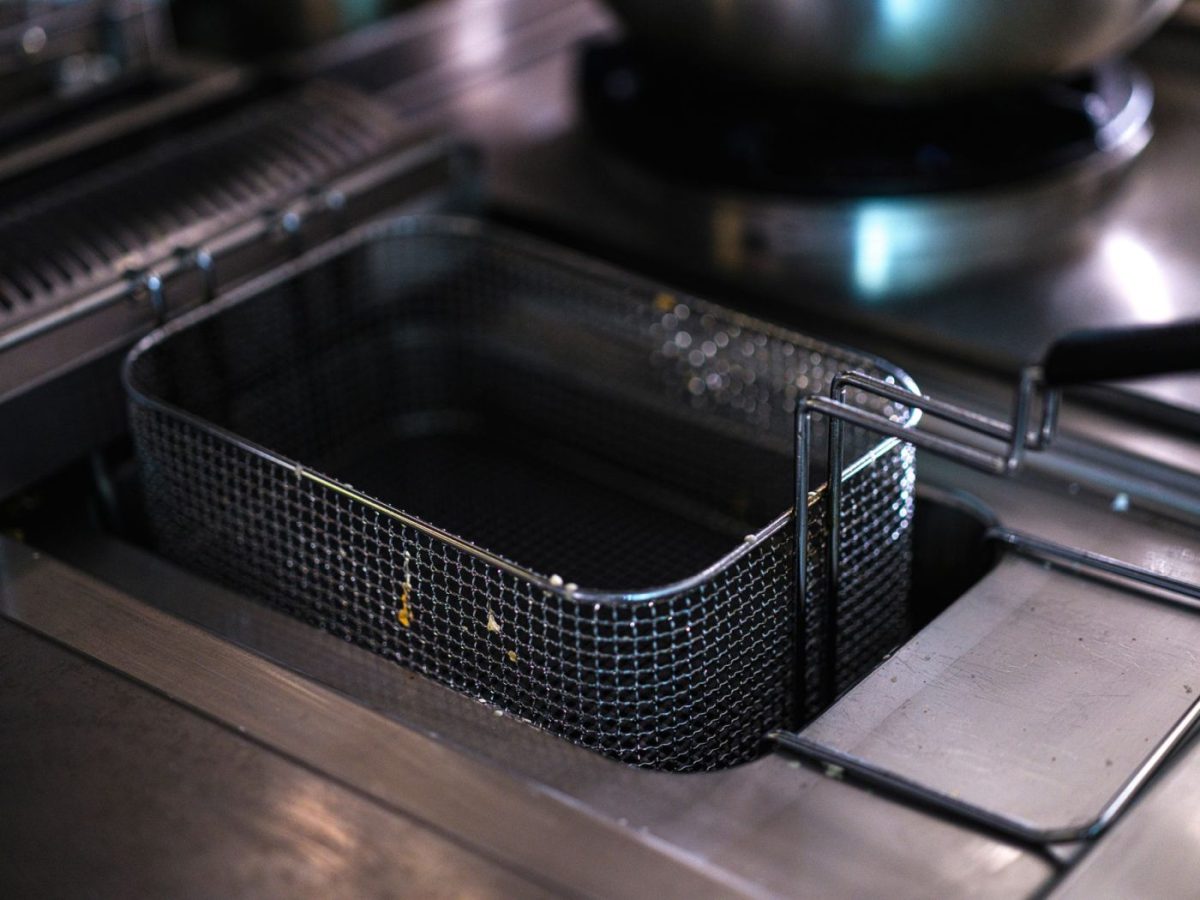
What causes carbon buildup on a deep fryer element?
Carbon buildup is polymerized oil. When cooking oil repeatedly contacts a heating element that runs at 175, 190°C (350, 375°F), the oil molecules break down and bond into a hard, dark layer on the metal surface. It is a chemical process, not just a residue problem. Once the layer forms, it acts as an insulator, which forces the element to work harder and drives up energy use.
Three conditions speed up the buildup. Low oil turnover, where the same oil sits in the vat for days without being topped up with fresh oil, gives the oil more time to break down. Poor filtration leaves suspended food particles and fatty acids in the oil, and stick to the element, accelerating polymerization. Running the fryer above the recommended setpoint, even by 10°C, pushes the oil past its smoke point faster, creating carbon at a much higher rate.
How often should you boil out a deep fryer?
A kitchen that fries breaded chicken or fish all day typically needs a full boil-out every week. A moderate-use kitchen that runs a single lunch and dinner shift can often stretch the interval to every two weeks. The oil itself does not tell you the whole story. Carbon builds up on the heating element and the tank walls even when the oil looks clear. A calendar-based routine prevents the problem from hardening into a layer that requires scraping.
The cycle is overdue when you see dark flakes floating in the oil even right after filtering. Another reliable sign is the fryer taking noticeably longer to recover to set temperature after you drop a basket. If the oil smokes at its normal operating temperature, the element is likely coated with enough carbon to create hot spots. A rancid smell that stays after an oil change also points to baked-on residue inside the tank.
What tools and chemicals do you need for a deep fryer boil-out?
Gathering the right supplies before you start prevents interruptions once the tank is full of hot water. Avoid household dish soaps and degreasers. They foam excessively and leave residues that can taint the next batch of oil. Stick with products formulated for commercial fryers.
Here is what you need for a safe and effective boil-out.
- A commercial fryer cleaner, typically a non-foaming alkaline powder or liquid designed to dissolve polymerized grease without corroding stainless steel.
- A fryer cleaning rod, a rigid wire with a hook or scraper on the end, for clearing solidified carbon from the narrow gaps between heating tubes.
- A long-handled stiff-bristle brush. Nylon bristles are safe for stainless tanks, while brass bristles work on heavy carbon but require a gentle touch on the metal.
- Heat-resistant gloves that extend past the wrist, rated for contact with water at 90°C (194°F) or above.
- Safety goggles to protect your eyes from splashes when adding cleaner to hot water or scrubbing overhead elements.
- White vinegar or a mild citric acid solution for the final rinse. It neutralizes any alkaline cleaner residue left inside the tank after draining.
Step-by-step guide to cleaning carbon from a deep fryer
Start by letting the oil cool completely and then drain it through a fine-mesh strainer into a clean metal container if you plan to reuse it. Disconnect the fryer from the power supply and remove the baskets. Scrape any loose food debris from the tank bottom with a plastic scraper, never a metal tool that will scratch the stainless steel.
Fill the tank with warm water to the maximum oil level line. Add the boil-out cleaner following the dilution ratio on the label, typically 1 part cleaner to 5 parts water. Turn the fryer back on, set the thermostat to 100°C or just below a boil, and let the solution work for 20 to 30 minutes. A rolling boil pushes hot cleaner up against the elements and tank walls. Stay nearby during the entire boil. Never leave the fryer unattended.
Switch off the heat. Let the solution cool until it is safe to touch. While the solution is still warm, scrub the heating elements and the tank walls with a long-handled fryer brush. Pay extra attention to the underside of the elements where carbon collects thickest. Drain the dirty water completely and rinse the tank with clean water. Add a final rinse of water and white vinegar (one cup per gallon) to neutralise any remaining alkaline cleaner. Wipe all surfaces dry with a lint-free cloth before refilling with oil.
How do you clean the heating element without damaging it?
Steel wool, wire brushes and metal scrapers scratch the nickel or stainless steel surface of the element. Those fine scratches trap oil and food particles, and carbon builds up again faster than before. A scratched element also develops hot spots where the metal thins, shortening its working life.
Use a long-handled fryer brush with stiff nylon bristles, the type sold specifically for boil-out work. Scrub along the length of the element, not across it. Work the brush into the corners where the element meets the tube rack, but do not force it. For stubborn patches, a plastic scraper or a wooden paint stirrer removes the softened carbon without marking the metal. Rinse with fresh water and inspect the surface. If any black residue remains, repeat the boil-out rather than attacking it with a harder tool.
Why does my fryer still have carbon after a boil-out?
Residue that remains after a boil-out usually means one of four steps fell short. The most common mistake is a cleaner concentration that is too weak for the buildup you are dealing with. Heavy carbon layers need the full strength the chemical manufacturer specifies on the label, not a diluted guess. Measure the powder or liquid exactly against the water volume in the tank.
Water temperature is the next checkpoint. The solution must reach a full rolling boil and stay there for the entire soak time, typically 20 to 30 minutes. A simmer will soften only the surface. If the thermostat cuts out early, you may need to override it or add boiling water from a kettle to keep the action going.
Two other steps get skipped in busy kitchens. Scrubbing while the tank is still hot makes a measurable difference because the carbon is softest right after the boil. Waiting until the water cools lets the residue harden again. Finally, an acid rinse after draining the alkaline cleaner is not optional. Alkaline boil-out compounds leave a fine film that traps loosened particles. A quick vinegar or citric acid rinse neutralizes that film and lets you wipe away the last carbon specks with a cloth.
FAQ
Can I use a pressure washer to clean carbon from a deep fryer?
Service engineers advise against it. A pressure washer can force water past the element seals and into the electrical connections or the gas burner chamber. The high-pressure spray also tends to splash carbon-laden water onto nearby equipment and walls. A manual boil-out with the right brush gives you more control and is safer for the fryer.
Is it safe to leave the fryer unattended during a boil-out?
No. A rolling boil with a commercial cleaner can foam up and overflow the tank if the water level is too high or the heat is not adjusted in time. Stay next to the fryer the whole time it is boiling. Keep a scoop or a ladle handy to knock down foam, and be ready to cut the gas or power if the water rises too fast.
How do I dispose of the dirty water after cleaning?
Never pour boil-out water into a storm drain or directly onto the ground. Let the water cool completely, then drain it through a grease trap if your kitchen has one, or collect it in a sealed container and arrange disposal with your used oil collector. Check your local regulations, because the alkaline cleaner makes the water a controlled waste in many areas.
