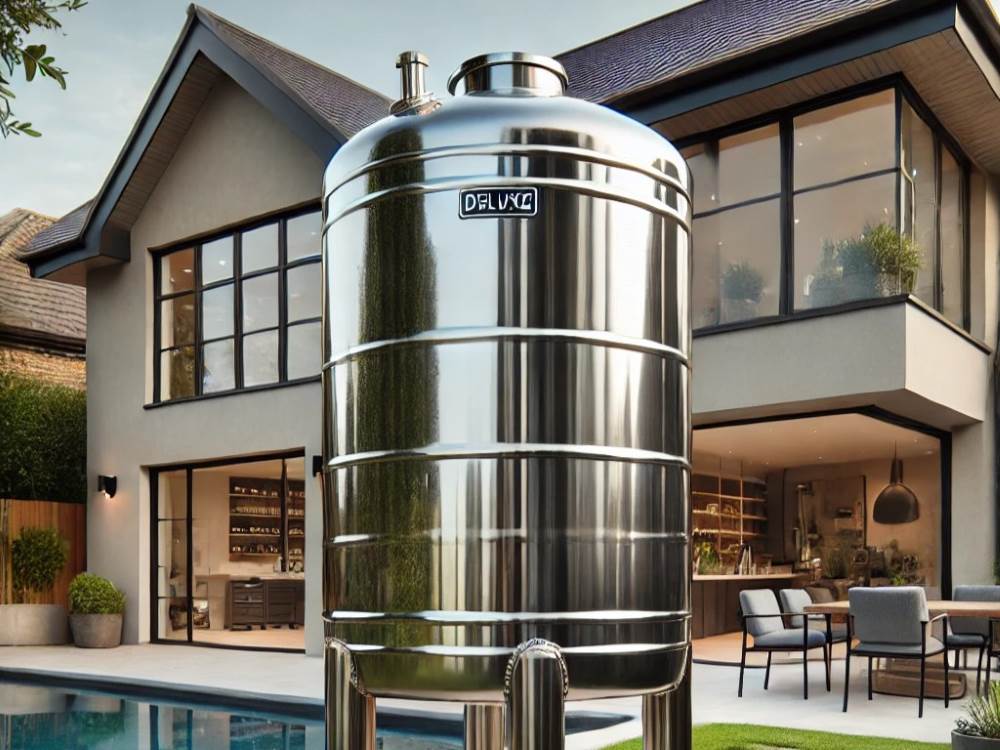
The longevity and ability to withstand rust and corrosion are well-known attributes of stainless steel water tanks. But with time, leaks can occur in even the strongest tanks. It’s critical to fix these leaks right away to stop additional damage and water loss. This tutorial will help you repair a leak in a stainless steel water tank so that it keeps working and is dependable for many years to come.

Gathering Your Equipment
A few basic tools and materials are all you’ll need to fix a stainless steel water tank that is leaky. Here are some ideas to get you going:
- Gloves: Protect your hands from chemicals and sharp edges.
- Face Mask: Shield your face from fumes and particles.
- Ketone Solution: Used for cleaning and preparing the surface.
- Resin Compound: Essential for sealing the leak.
- Shop Vacuum Cleaner: For cleaning the tank before and after the repair.
- Garden Sprayer: For applying the mixed compound.
Preparation Steps
Before diving into the repair process, ensure you have everything prepared:
- Drain the Water: Completely empty the tank to access the leak and prevent contamination.
- Wear Safety Gear: Put on gloves and a face mask to protect yourself.
- Prepare the Solutions: Mix the resin compound with the ketone solution, if not pre-mixed.
- Clean the Tank: Use the shop vacuum cleaner to remove any debris and remaining water.
Step-by-Step Repair Process
Step One: Drain and Dry the Tank
First, open the tap at the bottom of the tank and connect a hose to direct the water away. Make sure the tank is completely dry before proceeding to the next step. This ensures a better bond when applying the repair compound.
Step Two: Remove Connection Fillings
Disconnect all connection fittings and plugs from the tank. This will give you better access to the leaking areas. Use a duster or cloth to mark and clean the leaking holes.
Step Three: Apply the Repair Compound
Not all compounds are suitable for stainless steel. Choose a high-quality resin compound for the best results. Mix it with the ketone solution and spray it onto the leaking areas using the garden sprayer. Ensure every hole is thoroughly covered. You might need to apply multiple layers for a strong seal.
Step Four: Let It Dry
Leave the tank to dry for at least 72 hours. This allows the ketone solution to evaporate, leaving behind a solid, waterproof seal. After drying, reconnect the fittings and test the tank by filling it with water.
Conclusion
Leak repair in a stainless steel water tank is easier than it sounds when you have the correct equipment and know-how. You can keep your tank in perfect shape and avoid damage and water loss by following this guide.
FAQs
1. How often should I check my stainless steel water tank for leaks?
It’s advisable to inspect your tank every six months to ensure it’s in good condition.
2. Can I use any resin compound for the repair?
No, it’s crucial to use a resin compound specifically designed for stainless steel to ensure a proper seal.
3. Is it safe to use the tank immediately after the repair?
Wait for at least 72 hours after applying the repair compound before using the tank to ensure it has fully cured.
4. What should I do if the leak persists after repair?
If the leak continues, consider consulting a professional or replacing the tank if it’s severely damaged.
5. Can I prevent leaks in my stainless steel water tank?
Regular maintenance and inspections can help detect and address potential issues before they become significant leaks.

One reply on “How to Fix a Leak in a Stainless Steel Water Tank: A Comprehensive Guide”
“Thanks for this detailed guide! The step-by-step instructions are easy to follow, and I appreciate the focus on both identifying the leak and choosing the right repair method. The tips on using food-grade sealants and safety precautions were especially helpful for ensuring long-term results. Looking forward to more informative articles like this!”